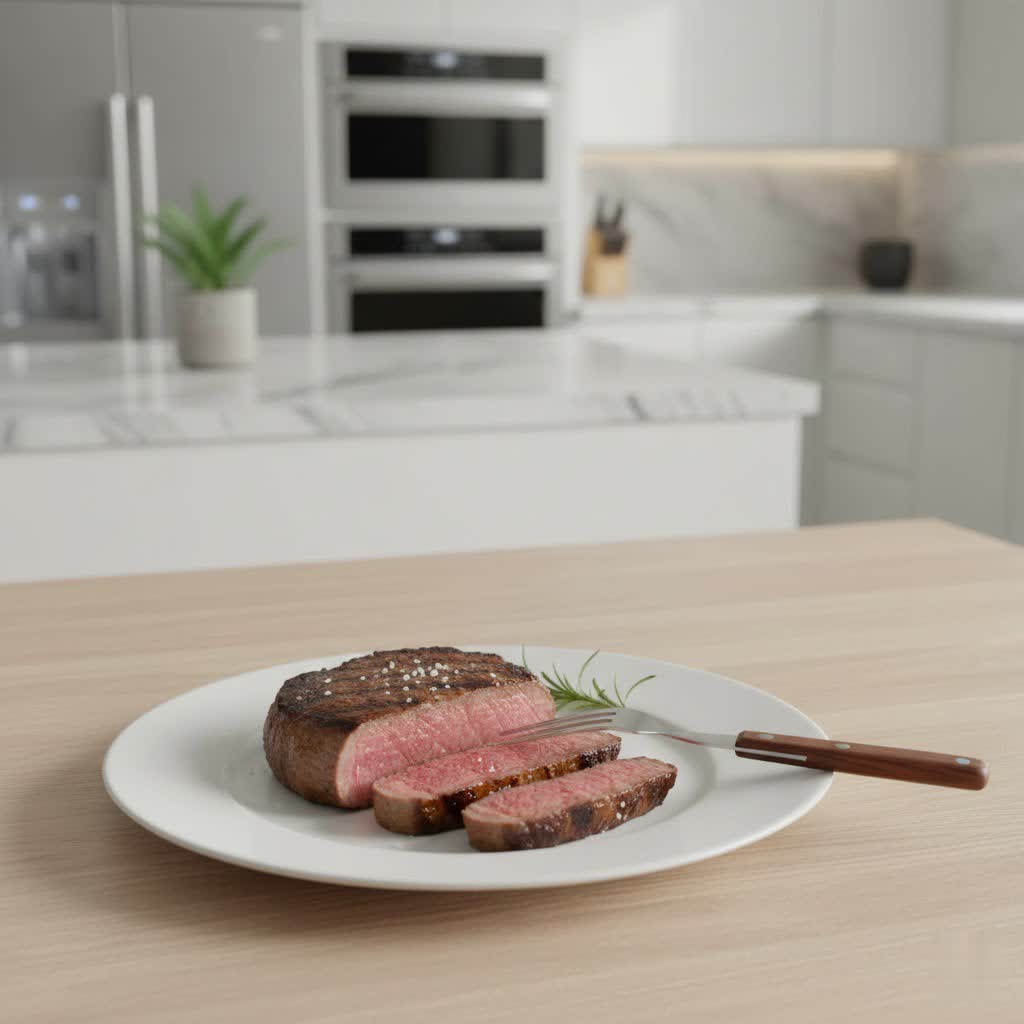
Few things are as frustrating during a delicious steak dinner as a fork whose tines refuse to cooperate. You try to pierce a perfectly cooked slice of ribeye, only for your fork to slide frustratingly off, sending your culinary enjoyment into a tailspin. Dull steak fork tines aren’t just an inconvenience; they diminish the entire dining experience, making it harder to properly enjoy your meal. But what if you could easily restore that lost sharpness right in your own kitchen? This guide will walk you through simple, effective DIY methods to sharpen your steak fork tines, ensuring every bite is a pleasure.
Why Your Steak Fork Tines Lose Their Edge
Just like knives, the tines of your steak forks, over time and with regular use, inevitably lose their initial sharpness. This dulling isn’t always obvious until you encounter resistance with your food. Several factors contribute to this common issue.
Firstly, repeated contact with hard ceramic plates during meals gradually wears down the delicate tips of the tines. Each time you push down to secure a piece of steak, the friction with the plate’s surface shaves away microscopic bits of metal, rounding the once-sharp points. Secondly, aggressive cleaning methods, particularly dishwashers, can accelerate this dulling. The high-pressure water jets and abrasive detergents, combined with cutlery rattling against each other, can cause nicks, bends, and further blunting of the tines. Finally, the initial manufacturing quality plays a role; some mass-produced forks may start with blunter tips than their high-end counterparts, meaning they’ll feel duller sooner.
Essential Tools for DIY Fork Sharpening
Restoring the piercing power of your steak fork tines doesn’t require specialized, expensive equipment. Many effective tools can be found in your kitchen or at a local hardware store.
Whetstones (Sharpening Stones)
|
Our Picks for the Best Steak fork in 2026
As an Amazon Associate I earn from qualifying purchases.
|
||
| Num | Product | Action |
|---|---|---|
| 1 | 2 Pcs Carving Fork for Meat 11,8 inch - Stainless Steel Meat Fork with Heat-Resistant Handle for Grilling, Cooking, Serving - Straight and Curved Carving Utensils with Classic Two-Prong BBQ Design |

|
| 2 | Chef Craft Select Meat Cooking Fork, 13 inch, Stainless Steel |
|
| 3 | Meat Cooking Fork Stainless Steel Fork - 10.8" Metal Serving Forks for Meat Carving Heavy Duty Two Prong Meat Fork for Grill Lifting Barbecue Forks |
|
| 4 | OXO Good Grips Stainless Steel Carving Fork, One size |
|
| 5 | SUNRISE Stainless Steel Meat Fork 10.5" Fork |
|
| 6 | 2 Pieces Meat Fork Stainless Steel Carving Fork with Wood Handle Cooking BBQ Grill Steak Tool for Kitchen Barbecue Serving Cooking Grilling Roasting 10.5 Inches, Round Handle |
|
| 7 | Kilajojo Chef Pro Stainless Steel Carving Fork 12 Inch |
|
| 8 | Ponpon 2Pcs Meat Forks Stainless Steel Carving Fork with Wooden Handle Barbecue Fork for Cooking Kitchen (2) |
|
| 9 | Anolon SureGrip Stainless Steel Meat Fork/Kitchen Tool, 13.25 Inch, Gray,46288 |
|
| 10 | 2 Pcs Carving Fork for Meat – 12 Inch Stainless Steel Meat Forks for Kitchen, Heat-Resistant Non-Slip Handles – Two-Prong Straight & Curved BBQ Fork for Slicing, Grilling & Serving |
|
Whetstones, also known as sharpening stones, are perhaps the most effective tool for sharpening any metal edge, including fork tines. They come in various grit levels, with lower numbers (e.g., 400-600 grit) for shaping and repairing significant dullness, and higher numbers (e.g., 1000-3000 grit) for refining and polishing the edge. Water stones are common and require soaking in water before use to create a slurry that aids in the sharpening process. Oil stones require a light oil.
Ceramic Mug Trick
For a quick and accessible solution, the unglazed ceramic rim on the bottom of many coffee mugs can serve as a surprisingly effective fine-grit sharpening surface. The abrasive nature of the ceramic material is similar to that found in some honing rods, making it ideal for putting a finer point on slightly dull tines.
Sandpaper Method
Regular sandpaper, particularly waterproof varieties, can be an excellent option for sharpening. Choose grits in the range of 360-600 for general sharpening and up to 1000 for a finer finish. Mounting the sandpaper on a flat, stable surface (like a piece of wood or a mousepad for cushioning) prevents slipping and ensures consistent pressure.
Honing Steel (for Maintenance)
While not a sharpening tool in itself, a honing steel is invaluable for maintaining the sharpness of your tines between full sharpening sessions. It realigns microscopic burrs and edges that get bent over with use, keeping the tines pointed and effective. Think of it as a tune-up, not an overhaul.
Step-by-Step Guide to Sharpening Steak Fork Tines
Before you begin, remember that you are working with potentially sharp objects. Safety is paramount.
Safety First
Always wear cut-resistant gloves to protect your hands. Ensure your work surface is stable and non-slip. Take your time, maintain control, and never rush the process. Sharpening requires patience and a steady hand.
The Whetstone Method
- Prepare Your Whetstone: If using a water stone, soak it in water for 5-10 minutes until it stops producing bubbles. For oil stones, apply a thin layer of honing oil.
- Stabilize the Fork: Hold the fork firmly in one hand, gripping the handle securely.
- Identify the Angle: Each tine typically has a subtle taper that forms its point. Your goal is to replicate and enhance this angle. Aim for a consistent, shallow angle (around 15-20 degrees) on each side of the tine as you sharpen.
- Sharpen Each Tine: Place a single tine flat against the coarse side of the whetstone at your chosen angle. Using gentle, consistent pressure, push the tine across the stone, moving from the base of the pointed section towards the very tip. Repeat this motion 5-10 times.
- Flip and Repeat: Turn the fork over and sharpen the other side of the same tine, maintaining the same angle and number of strokes. You should feel a slight burr (a tiny lip of metal) forming on the opposite side of the edge you are sharpening.
- Refine (Optional): If you desire a finer point, switch to a higher-grit whetstone and repeat the process for each tine, using lighter pressure and fewer strokes. This step polishes the edge, making it smoother and sharper.
- Clean: Rinse the fork thoroughly to remove any metal particles and dry it completely.
Sharpening with a Ceramic Mug
- Find an Unglazed Bottom: Locate a ceramic mug with an unglazed, rough ring on its bottom. This rough surface is your sharpening medium.
- Hold the Fork: Grip the fork firmly.
- Individual Tine Sharpening: Hold one tine against the unglazed ceramic rim at a shallow angle, similar to the whetstone method.
- Stroke Gently: Stroke the tine downwards across the ceramic, from the base of the point to the tip, using moderate pressure. Repeat 5-10 times.
- Alternate Sides: Flip the fork and repeat on the other side of the same tine. Work on developing a fine point on each tine.
- Clean: Rinse and dry the fork thoroughly.
Using Sandpaper for a Fine Edge
- Prepare Sandpaper: Secure a piece of fine-grit sandpaper (e.g., 400-600 grit) to a flat, stable surface like a cutting board or a block of wood.
- Position the Fork: Hold the fork by the handle, positioning a single tine on the sandpaper.
- Apply Consistent Angle: Angle the tine so its tapered edge rests flat against the sandpaper.
- Stroke Evenly: Gently pull the tine across the sandpaper, moving from the base of the pointed section toward the tip. Repeat 5-10 strokes.
- Work Both Sides: Flip the fork and repeat the process for the other side of the same tine.
- Repeat for All Tines: Continue this process for each tine, ensuring uniform sharpness.
- Clean: Wash the fork to remove any abrasive residue and dry completely.
Finishing Touches: Stropping
After sharpening, you might have tiny burrs on the tines. Stropping helps remove these and polish the edge for maximum sharpness. An old leather belt or a piece of cardboard can work as a strop.
- Prepare the Strop: Lay a piece of leather (like an old belt) or firm cardboard flat.
- Backward Strokes: Place a tine flat against the strop at the same angle you sharpened it, but pull it backward (away from the direction you would cut), from tip to base.
- Alternate Sides: Perform 5-10 light strokes on each side of each tine. This will remove any remaining burrs and give the tines a razor-sharp, smooth finish.
Testing Your Sharpened Fork Tines
How do you know if your efforts paid off? Here are a couple of simple tests:
- The Paper Test: While not as definitive as for a knife blade, a truly sharp fork tine should be able to lightly scratch or even snag a piece of paper without sliding off.
- The Food Test: The ultimate test is, of course, with food. Try piercing a piece of steak, a cherry tomato, or even a hard-boiled egg. A properly sharpened tine should glide in cleanly and hold the food securely.
“A sharp fork transforms the dining experience. It’s not just about aesthetics; it’s about functionality and truly enjoying every bite of your meal.” – Chef Antoine Dubois, Culinary Instructor and Cutlery Expert
Maintaining Sharpness: Care and Storage Tips
Keeping your steak fork tines sharp involves more than just occasional sharpening; it requires consistent care and proper storage.
- Hand Wash When Possible: While dishwashers are convenient, handwashing is gentler on your cutlery. Harsh detergents and the jostling against other utensils in a dishwasher can quickly dull tines and damage finishes. Wash immediately after use with a mild dish soap and warm water, avoiding abrasive scrubbers.
- Dry Thoroughly: Always dry your forks immediately after washing with a soft towel. Air drying can leave unsightly water spots and may even lead to corrosion over time, especially with certain water types.
- Store Properly: Prevent your sharpened tines from knocking against other metal objects. Use a cutlery drawer organizer or a designated holder that keeps forks separated. This simple step can significantly extend the life of their sharpness.
- Regular Honing: Between sharpening sessions, a quick pass on a honing steel can realign the tine tips, keeping them effective without needing a full sharpening.
Conclusion
Dull steak fork tines shouldn’t be a permanent fixture in your kitchen. With a few simple tools and a bit of patience, you can easily restore their piercing power right at home. Whether you opt for the precision of a whetstone, the convenience of a ceramic mug, or the adaptability of sandpaper, giving your forks a sharp edge will undoubtedly elevate your dining experience. So, take the time to sharpen your steak fork tines, and rediscover the joy of effortlessly enjoying your favorite meals. What’s your favorite DIY sharpening trick?
Frequently Asked Questions
Can I use a regular knife sharpener for fork tines?
Most conventional knife sharpeners are designed for blades and may not be suitable for the unique shape of fork tines. Manual sharpeners with individual slots might damage the tines or not provide the correct angle. It’s generally better to use methods like whetstones, ceramic mugs, or sandpaper that allow for individual tine sharpening.
How often should I sharpen my steak fork tines?
The frequency depends on how often you use your forks and how you care for them. For regularly used forks, a light sharpening every few months might be beneficial. If you notice them struggling to pierce food, it’s a good indicator that they need attention.
Is it safe to sharpen old, inexpensive forks?
Yes, you can sharpen most metal forks, regardless of age or original cost. However, be aware that very soft metals might dull more quickly after sharpening. Always prioritize safety with gloves and a stable surface.
Can dull tines affect food safety?
While dull tines don’t directly pose a food safety risk, excessively rough or corroded tines could harbor bacteria. Sharpening also involves cleaning, contributing to overall hygiene. Keeping your cutlery clean and well-maintained is always a good practice.